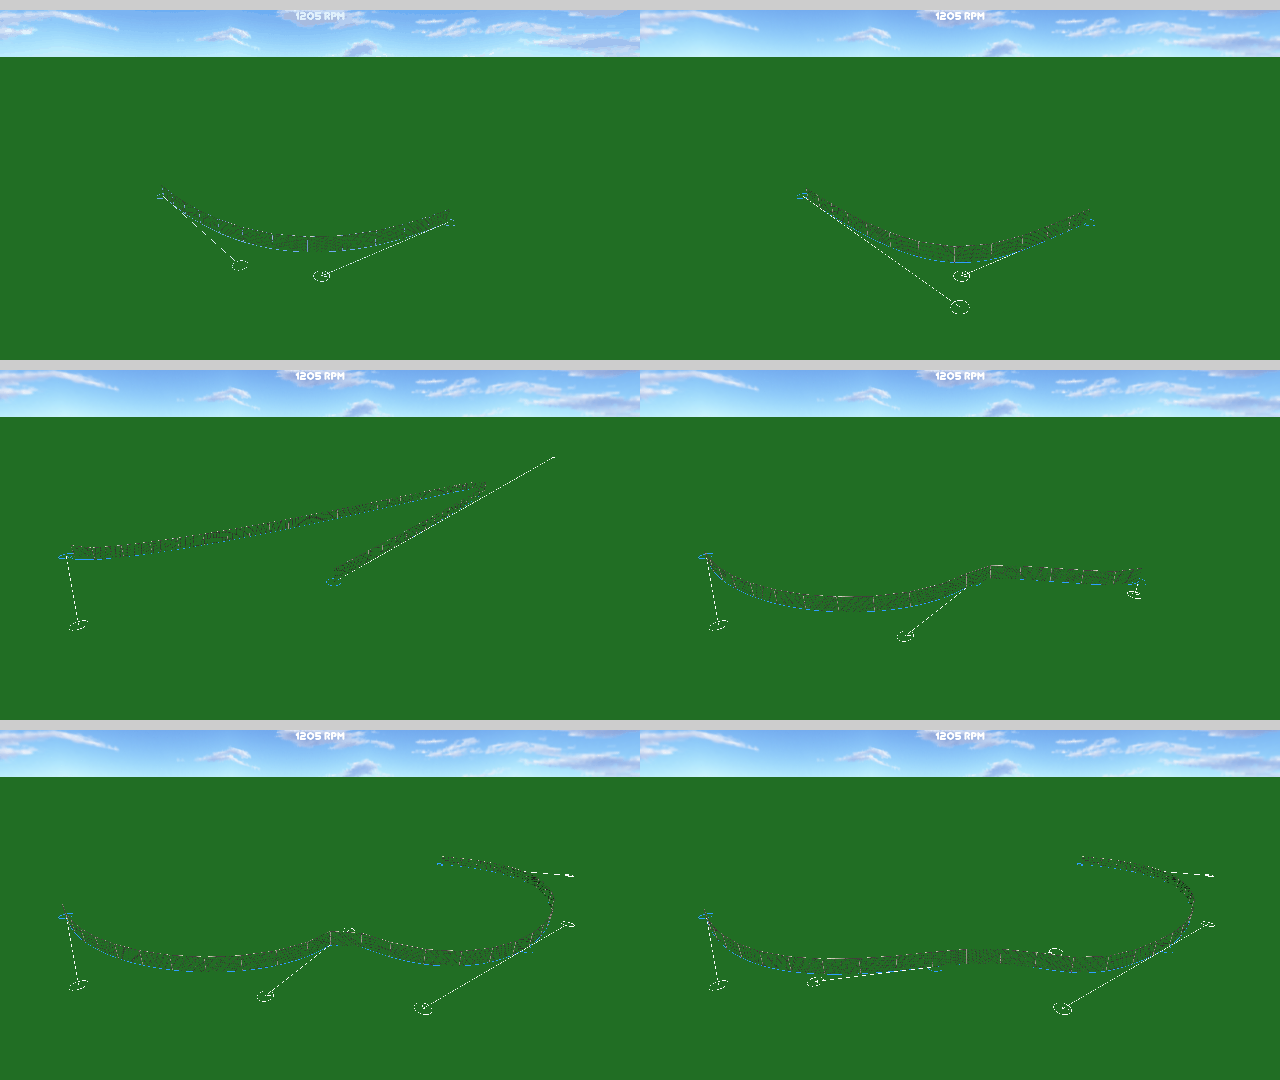
Racetracks have a lot of fencing, and placing each section of fencing section by section would be a daunting task, so I spent the last few hobby development sessions creating a way to edit a spline that could be attached to an object to place the fence. Last year I had my first experience with bezier curves when I made the track editor for ZoomCarWorld3.
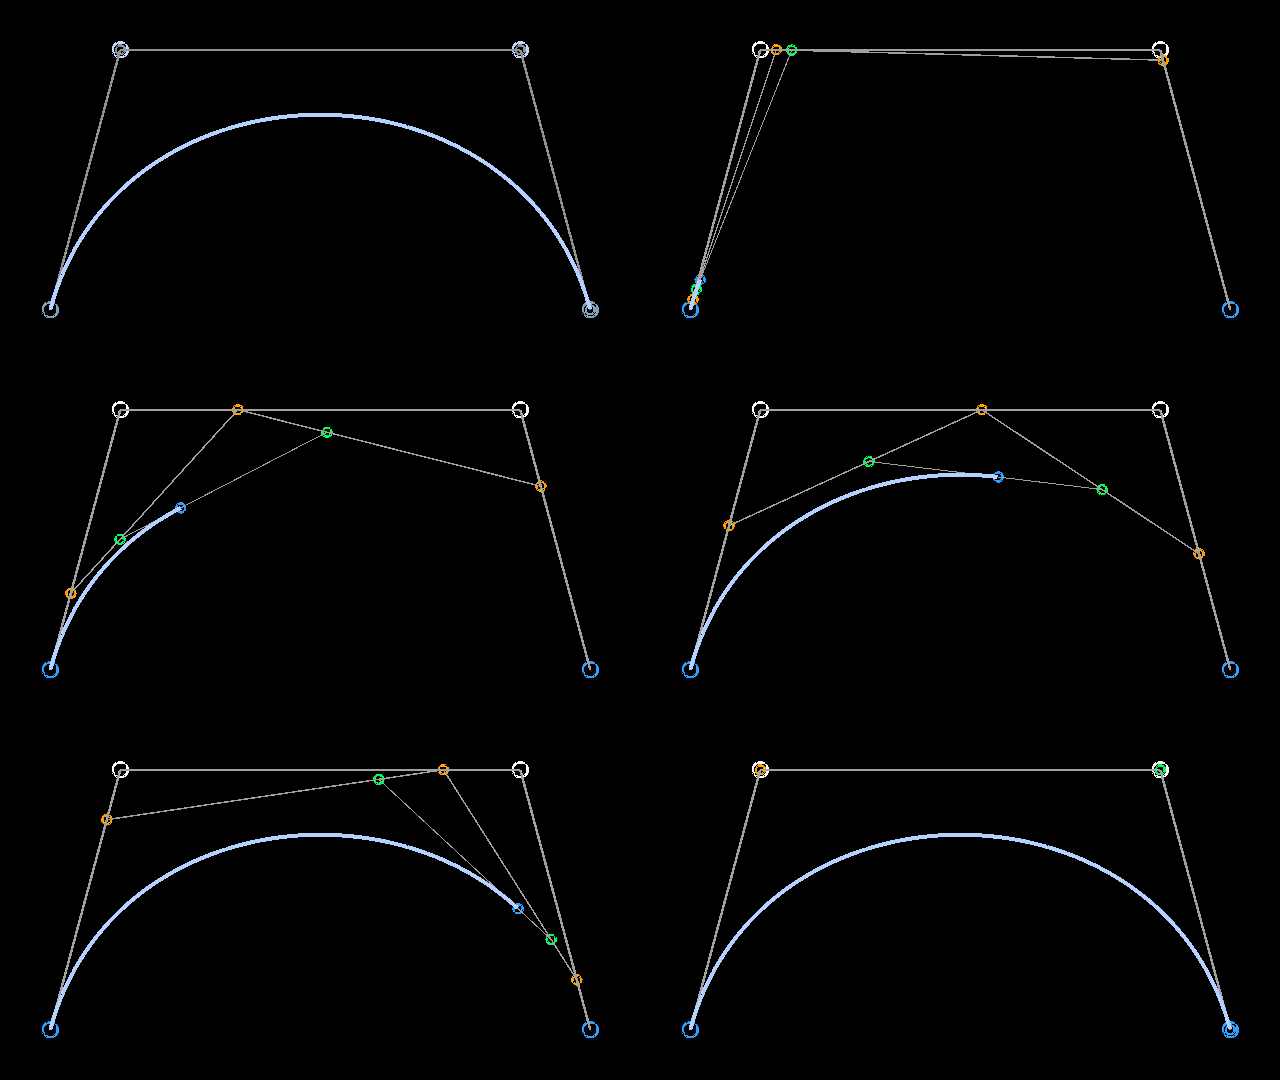
First, if you’re not familiar with a bezier curve it really is a lot more simple than wikipedia and other google results will have you believe. If you understand linear interpolation, you have almost all the math you need. I use cubic-bezier curves, which means a curve consists of a start and final point as well as 2 control points. To create the curve, just use linear interpolation from start point to the first control, first control to second control and from second control to final point. This will give you 3 points, which you then interpolate, again linearly, from the first to second and then second to third, giving you 2 final points. Guess what, another linear interpolation, from those two points will give you the result.

template <typename T> T LinearInterpolation(const float percentage,
    const T& startPoint, const T& finalPoint)
{
    return startPoint + ((finalPoint - startPoint) * percentage);
}

template <typename T> T BezierInterpolation(const float percentage, const T& startPoint,
    const T& firstControl, const T& secondControl, const T& finalPoint)
{
    const T tempA = LinearInterpolation(percentage, startPoint, firstControl);
    const T tempB = LinearInterpolation(percentage, firstControl, secondControl);
    const T tempC = LinearInterpolation(percentage, secondControl, finalPoint);

    const T tempAA = LinearInterpolation(percentage, tempA, tempB);
    const T tempBB = LinearInterpolation(percentage, tempB, tempC);

    return LinearInterpolation(percentage, tempAA, tempBB);
}
It may be a bit naive, and I’ll adjust in the future if needed, but my curve object has a container of one-or-more of these sections, each section with the start, final and two control points. If you didn’t already note, the naive part comes from it should be possible to share the final of one section with the start of the next. This would reduce memory, and possibly help in other ways.
With a way to store the curve, I then needed a way to edit the curve. Still not completely finished with this, but currently I can add from the front or back section, and drag any of the points. Because of my naive curve storage implementation I had to make extra efforts to ensure when grabbing a final point that the start point of the next section would also be modified. (And previous section final point when modifying a start point). Similar edge cases were needed to be handled to keep control points straight to avoid sharp angles entering the curve.
[Picture of single fence object with curve]
The final bit was to break the curve into segments of a set length. I did this a bit naively as well. The pseudo code would look something like the following:
//First compute total length of curve
for section : curveSections
    for i 0,100
        totalLength += length(previous, current);

//Add each of the points where a new fence segment starts.
fenceSegments.pushBack(curveSection[0].startPoint);
for section : curveSections
    for i 0,100
        if (length(fenceSegments.back, current) > segmentLength)
            segmentPos = direction(fenceSegments.back, current) * segmentLength
            fenceSegments.pushBack(segmentPos)
With the container of points, each a specific distance from the others, the fence can be placed. Of course each segment needed a direction as well, but it was fairly easy to align it to the next point in the container. The trick will be adding walls that actually have thickness and, if I ever get that far, aligning the fence/wall to the terrain heights to some degree, if that should come up, I foresee issues.
